기존 방식은 환경 설정 파일이 어플리케이션에 패키징 되어 있어서 환경설정이 변경되면 전체를 다시 빌드해야 합니다.
환경설정을 외부에 두어 환경 설정과 어플리케이션을 분리하여 빌드 없이 환경설정 변경을 적용할 수 있도록 합니다.
Spring Boot Cloud Server는 모든 환경설정 속성 정보를 관리할 수 있게 외부화된 환경설정 서버입니다.
actuator로 서버 구동을 확인할 수 있습니다.

Config Server의 동작 흐름
- 마이크로 서비스 인스턴스가 실행하면서 환경설정 정보를 Config Server에 접근
- 가져온 환경설정 정보를 성능 향상을 위해 로컬에 캐시
- Config Server는 환경설정 정보가 변경되면 모든 마이크로서비스에 전파
- 마이크로 서비스는 변경 사항을 로컬 캐시에 적용
Spring boot와 Spring Cloud에서의 application과 bootstrap
스프링 클라우드에서는 부트스트랩 컨텍스트를 사용합니다.
부트스트랩 컨텍스트는 부모 컨텍스트 역할을 하고, Config Server에서 환경설정 정보를 읽어옵니다.
application.yml처럼 bootstrap.yml 형태로사용하면 됩니다.
각종 설정에 대한 정보는 아래 사이트에서 확인할 수 있습니다.
docs.spring.io/spring-cloud-config/docs/current/reference/html/
1. Git 생성과 설정 및 설정 파일
git에 repo를 새로 생성하고 설정하고자 하는 파일을 push해줍니다.
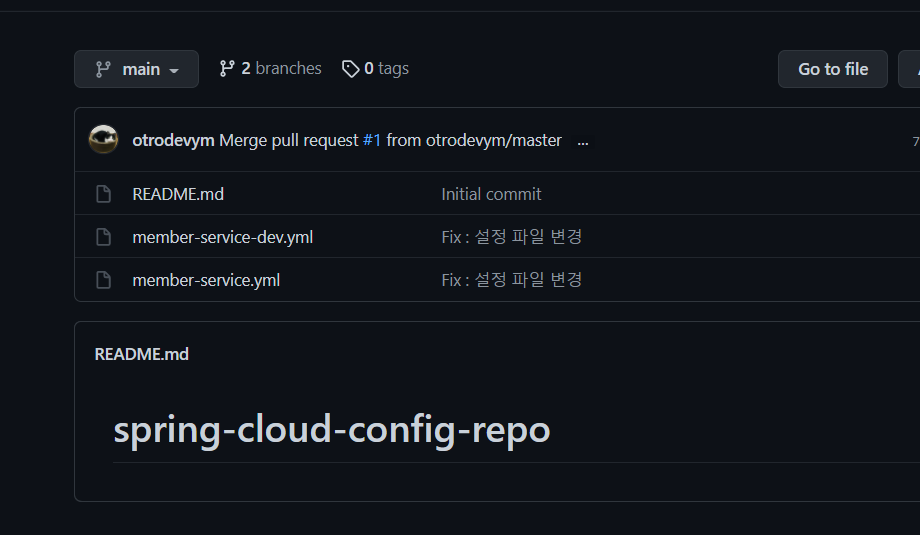
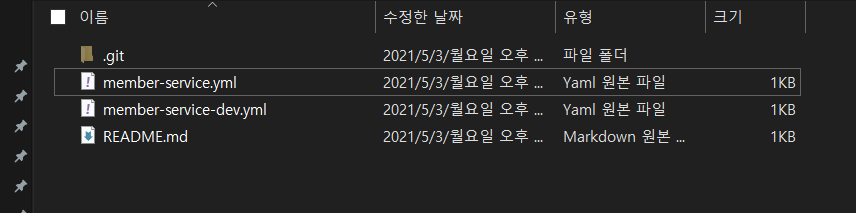
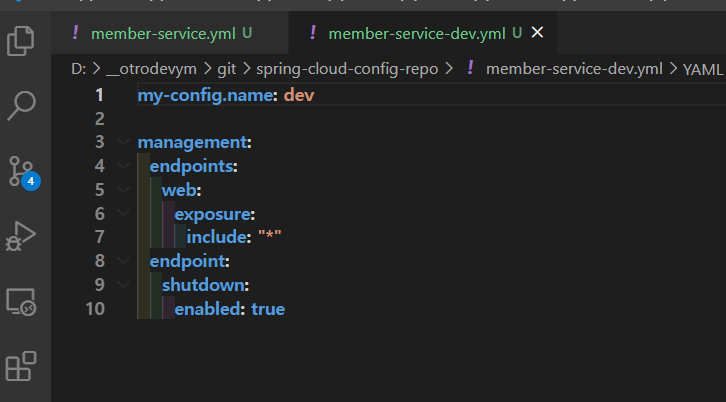
왼쪽은 default이고 오른쪽은 dev를 가지는 설정입니다.

2. Config Server 구축
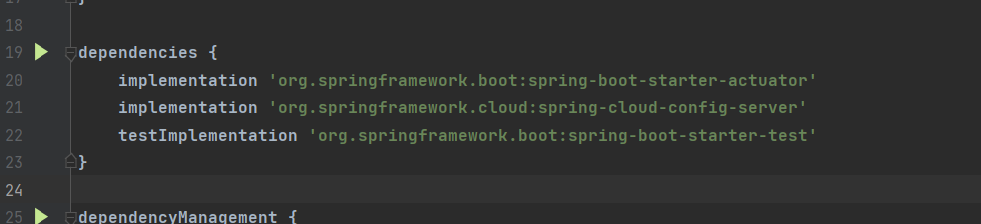
2-1. 의존성 추가
dependencies {
    implementation 'org.springframework.boot:spring-boot-starter-actuator'
    implementation 'org.springframework.cloud:spring-cloud-config-server'
    testImplementation 'org.springframework.boot:spring-boot-starter-test'
}
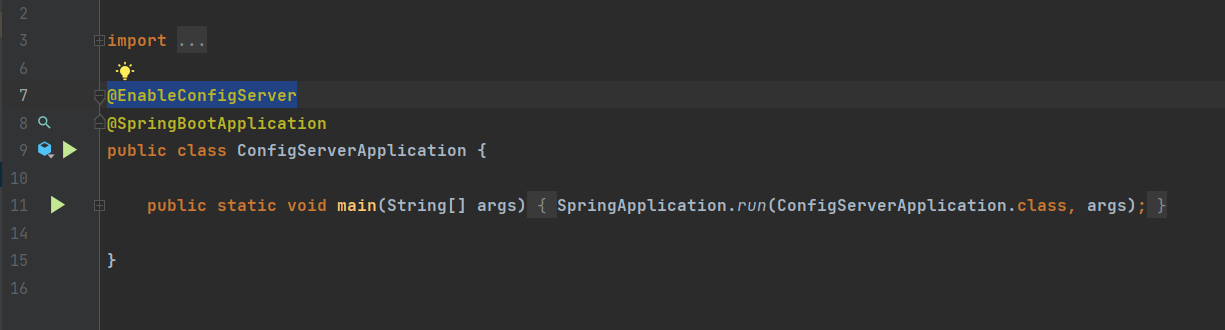
2-2. 어노테이션 추가
2-3. application.yml 설정
cloud.config.server.git.uri로 로컬(개인PC)에
clone 받은 config-repo의 정보를 가져오거나 원격지에 있는 정보를 가져옵니다.
spring:
  application:
    name: configserver
#  profiles:
#    active: composite
  cloud:
    config:
      server:
        git:
          uri: file:///D:/__otrodevym/git/spring-cloud-config-repo
#          uri: https://github.com/otrodevym/spring-cloud-config-repo.git
#      label: master
#        composite:
#          - type: native
#            search-locations: file:D:/__otrodevym/git/spring-cloud-config-repo/
#        bootstrap: true

server:
  port: 8888

management:
  endpoints:
    web:
      exposure:
        include: "*"
  endpoint:
    shutdown:
      enabled: true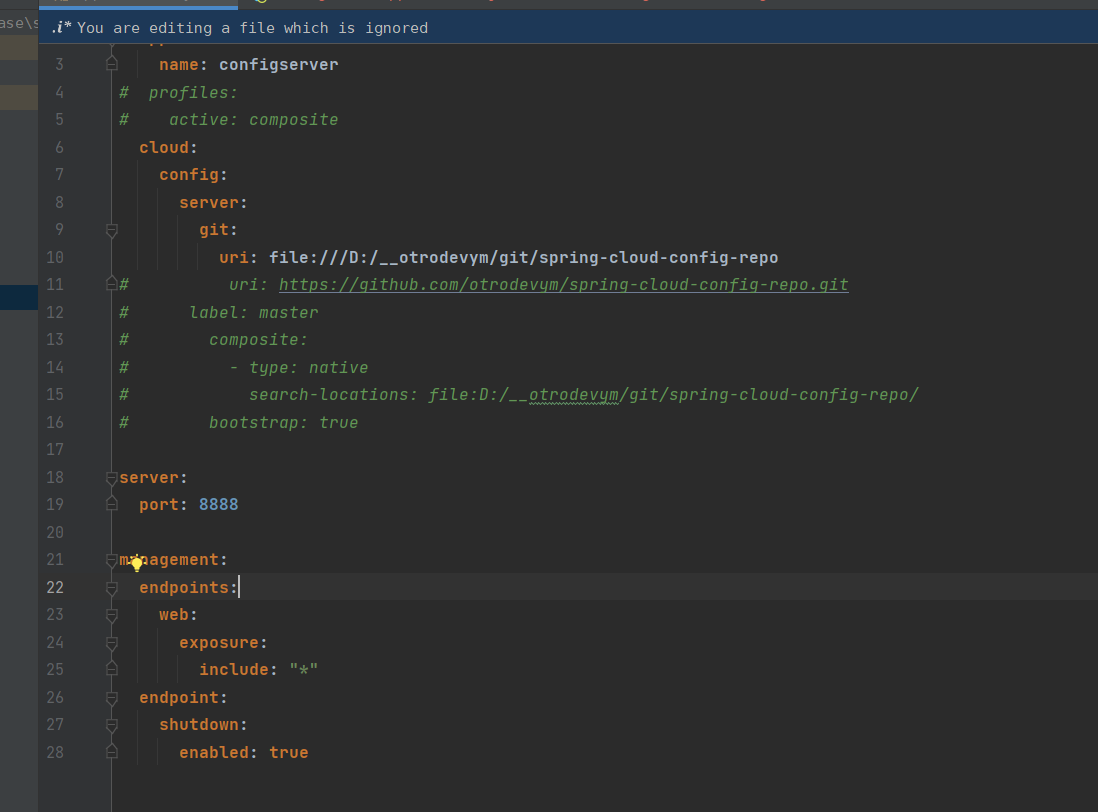
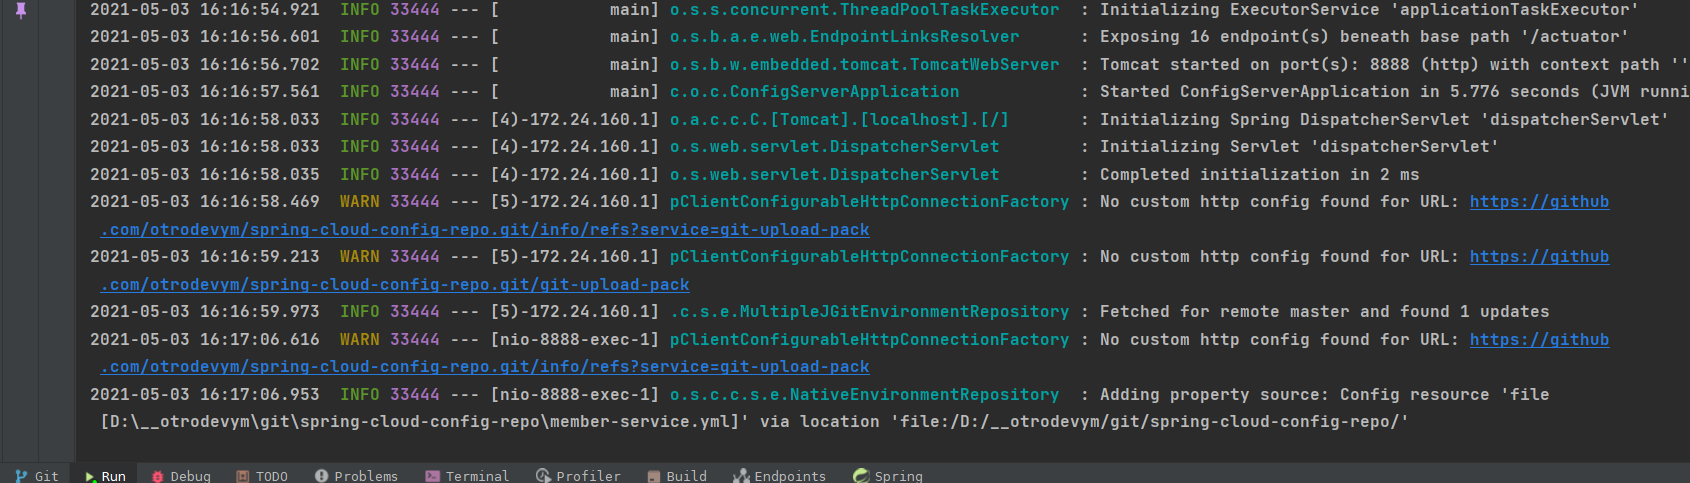
2-4. actuator로 config-repo 파일 확인
정상적으로 실행되면 아래와 같이 표시됩니다.
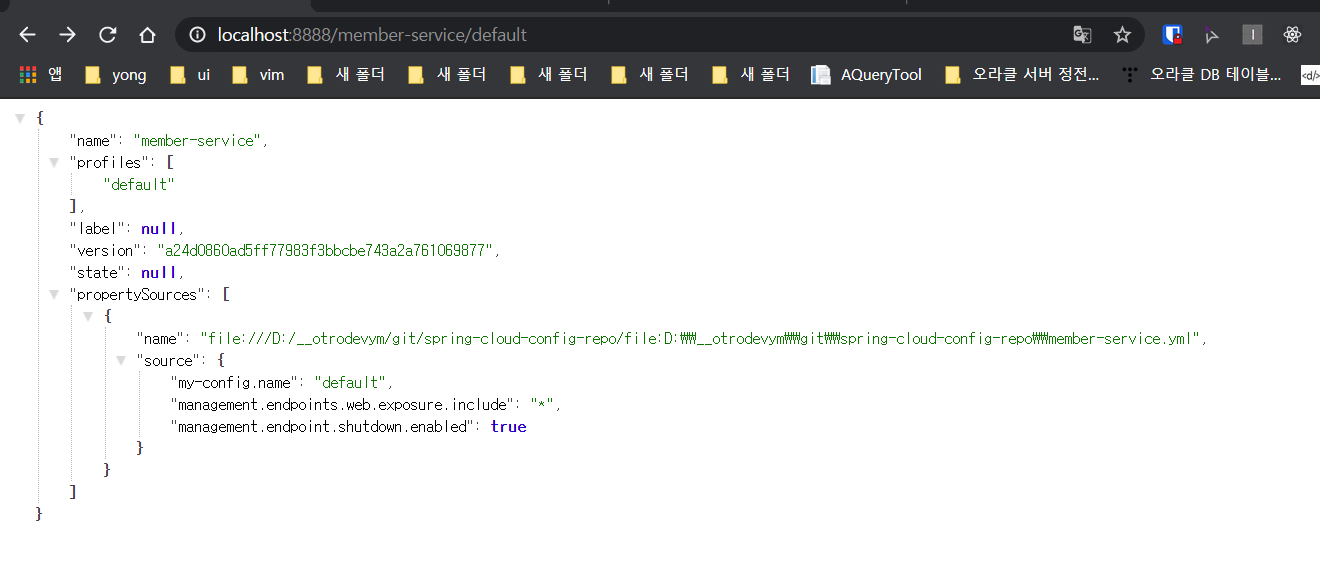
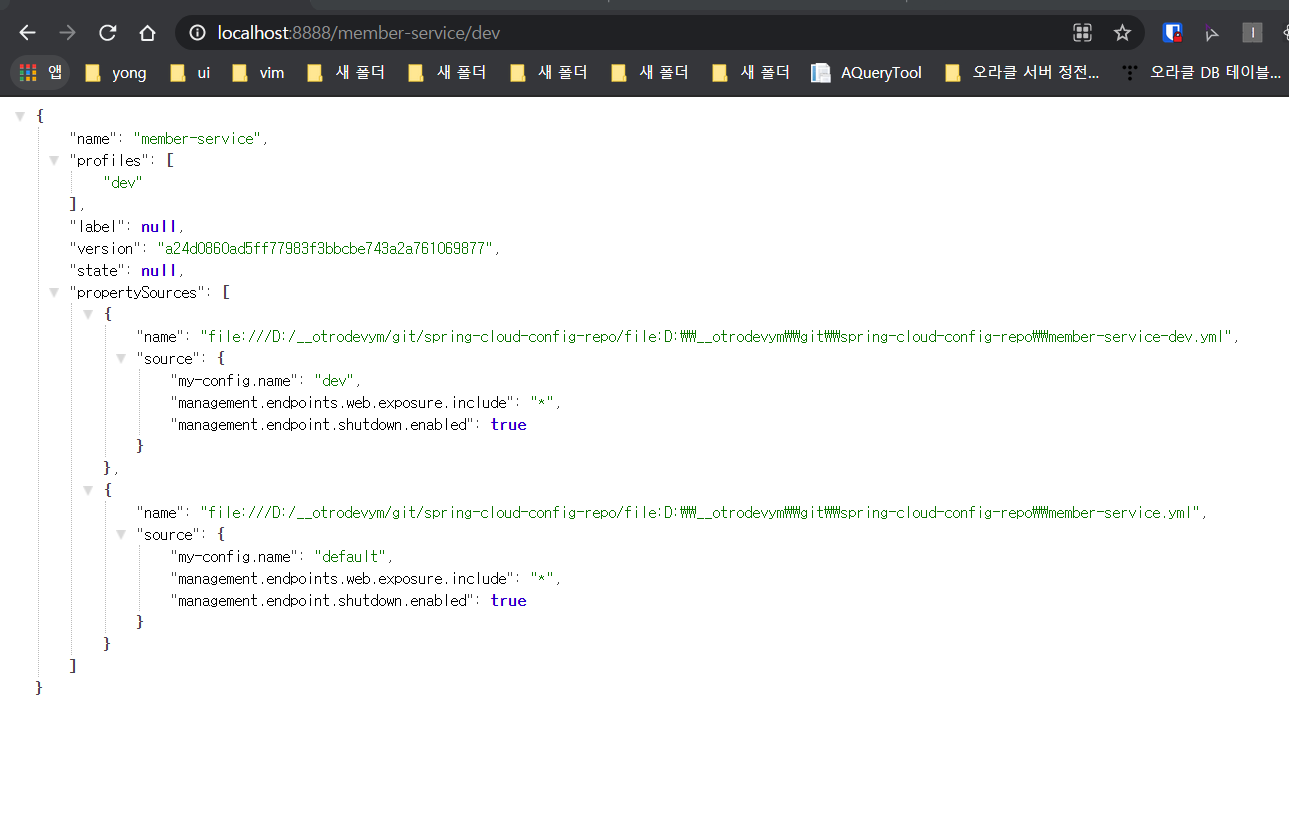
그리고 http://localhost:8888/member-service/default URL로 호출했을 때
설정 파일 위치와 관련 설정값이 표시되면 정상적으로 환경설정 파일을 읽어온 결과입니다.
만약 관련 정보가 안나오면 연결이 안된거니 재확인해야합니다.
3. ConfigClient 구축
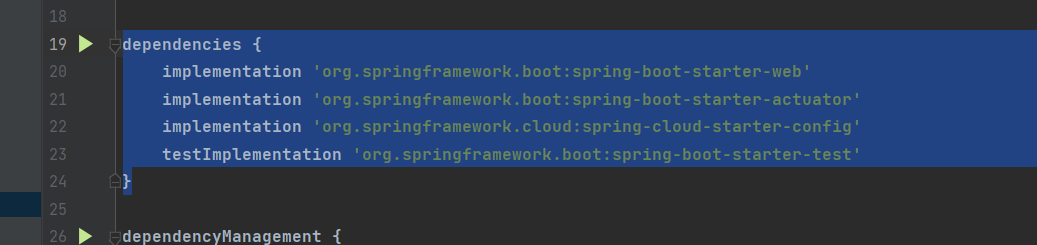
3-1. 의존성 추가
dependencies {
    implementation 'org.springframework.boot:spring-boot-starter-web'
    implementation 'org.springframework.boot:spring-boot-starter-actuator'
    implementation 'org.springframework.cloud:spring-cloud-starter-config'
    testImplementation 'org.springframework.boot:spring-boot-starter-test'
}
3-2. application.yml
cloud.config.uri로 연동하는 방법이 안되어서 찾아보니 버전 문제인지
config.import: optional:configserver: 로 연결했습니다.
spring:
  application:
    name: member-service
  profiles:
    active: default
  config:
    import: optional:configserver:http://localhost:8888
#  cloud:
#    config:
#      uri: http://localhost:8888 # Config Server
server:
  port: 9091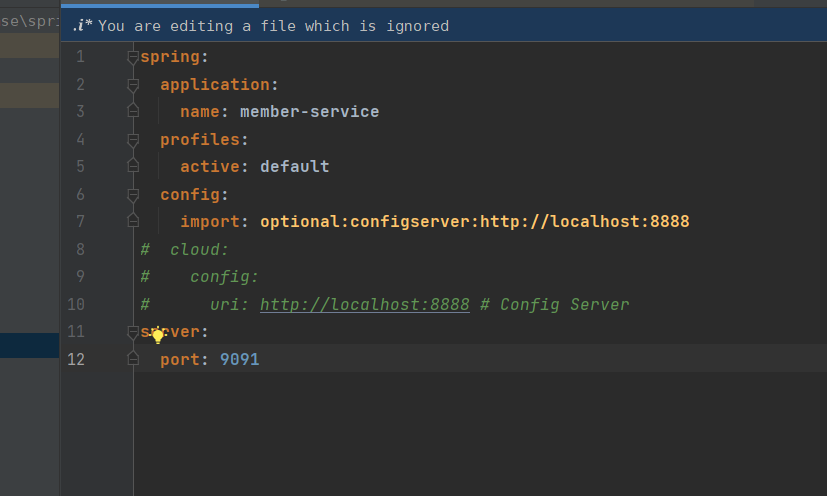
3-3. 소스 코드
CustomConfig.java
package com.otrodevym.configclient;

import org.springframework.beans.factory.annotation.Value;
import org.springframework.cloud.context.config.annotation.RefreshScope;
import org.springframework.stereotype.Component;

@RefreshScope // acturator에서 config refresh로 사용
@Component
public class CustomConfig {

    @Value("${my-config.name}")
    private String name;

    public String getName() {
        return name;
    }
}
MemberController.java
package com.otrodevym.configclient;

import org.springframework.web.bind.annotation.GetMapping;
import org.springframework.web.bind.annotation.PathVariable;
import org.springframework.web.bind.annotation.RequestMapping;
import org.springframework.web.bind.annotation.RestController;


@RestController
@RequestMapping("/member")
public class MemberController {

    private CustomConfig customConfig;

    public MemberController(CustomConfig customConfig) {
        this.customConfig = customConfig;
    }

    @GetMapping(value="/{name}")
    public String getMyName(@PathVariable("name") String name) {
        return "My name is " + customConfig.getName() + ". subname is " + name;
    }
}
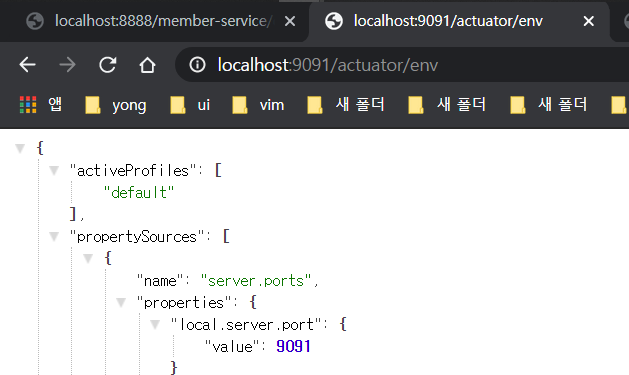
3-4. 설정 적용 테스트
http://localhost:9091/actuator/env로 조회하면 default가 활성화 되어있습니다.
4. @RefreshScope 를 이용하여 Config 변경 적용
Config Server와 Client가 실행 중인 상태에서 진행합니다.
설정해 두었던 @RefreshScope 를 이용하여 설정을 재적용합니다.
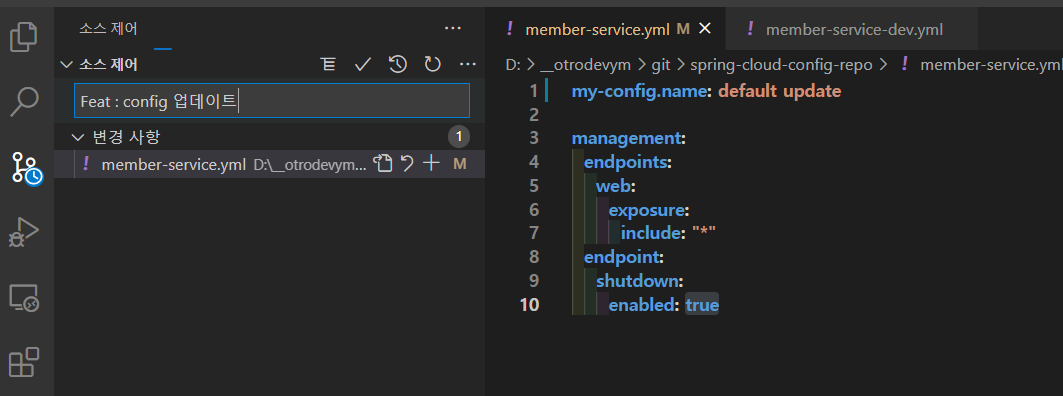
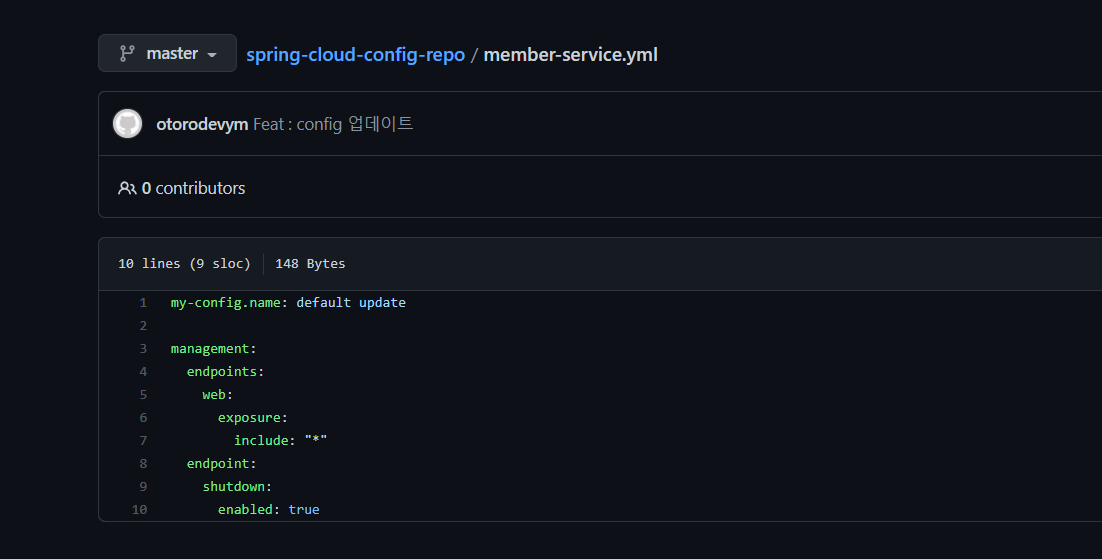
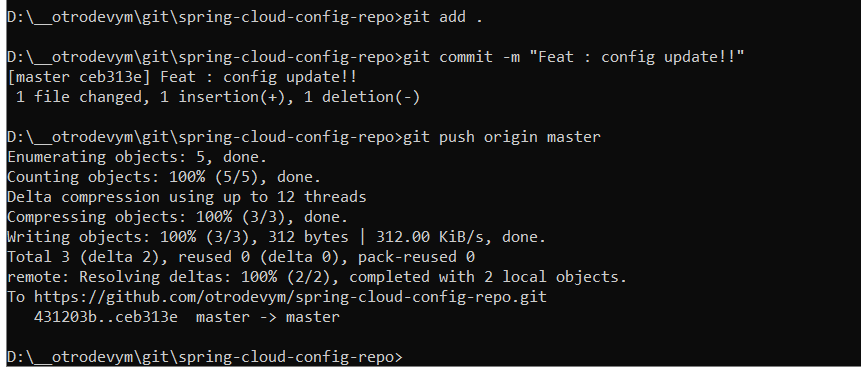
4-1. 설정 값 Git push
설정 값을 변경 후 git에 추가된걸 확인합니다.
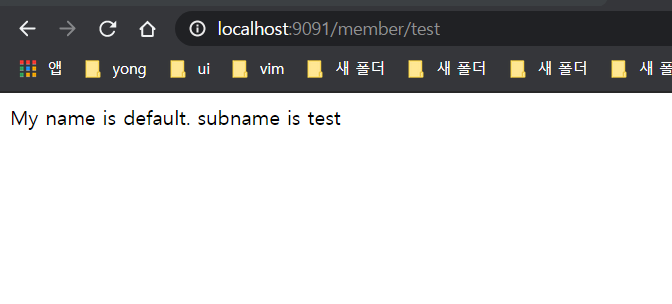
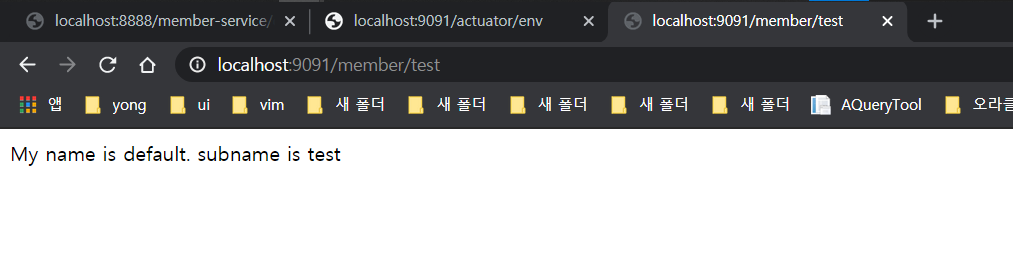
http://localhost:9091/member/test 를 호출해봐도 그대로입니다.
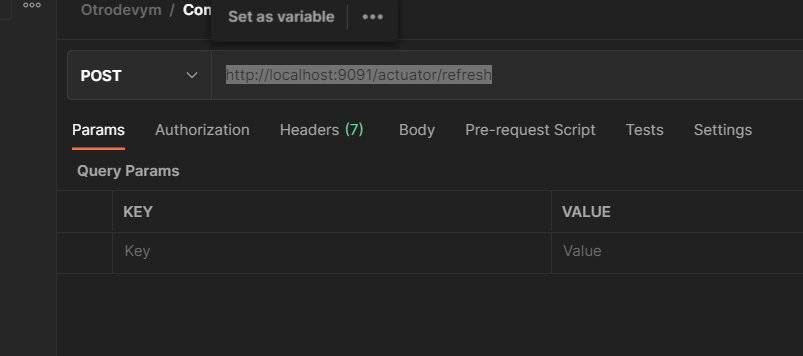
Postman을 이용해 [POST] http://localhost:9091/actuator/refresh 호출하여
@RefreshScope가 설정 값을 다시 읽어오도록 하겠습니다.
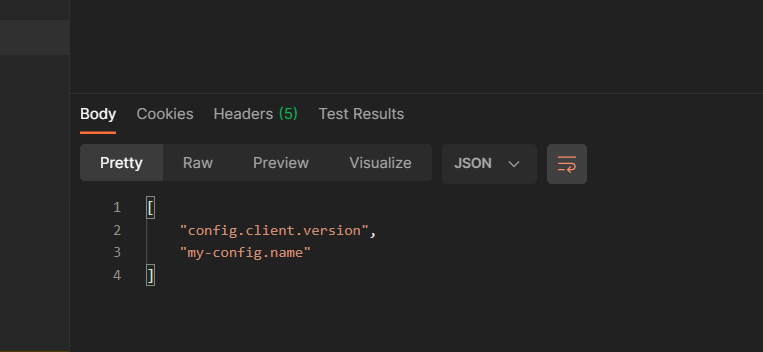
실행 결과 설정 값이 적용된걸 확인할 수 있습니다.

5. 환경설정 변경 전파
/actuator/refresh와 @RefreshScope를 이용하면 설정이 변경되었을 때 적용할 수 있지만
모든 인스턴스에게 호출해주어야 하므로 비효율적인 작업이 됩니다.
이를 해결하기 위한 방법으로는 두 가지가 있습니다.
- Eureka 엔진으로 모든 서비스를 조회한 후 /actuator/refresh 종단점을 직접 호출하는 스크립트 작성
- Spring Cloud Bus와 RabbitMQ(메시지 브로커)로 변경 내용을 전파(broadcasting)
자동화를 위해 2번 방법으로 환경설정 변경 시 전파하는 방법을 이어서 진행하겠습니다.
Spring Cloud Bus를 이용하면 는 실행되고 있는 인스턴스의 수나 위치에 관계없이 환경설정 변경을 전파할 수 있습니다.
- 실행중인 인스턴스는 하나의 메시지 브로커를 통해 변경 이벤트 구독
- 변경 이벤트가 발생하면 각 인스턴스는 변경된 환경설정 정보를 새로 읽어와서 로커렝 캐싱된 정보 갱신
한 인스턴스의 /actuator/busrefresh 종단점이 호출되면 모든 메시지 브로커를 통해 변경된 내용이 모두에게 전파되는 방식입니다.
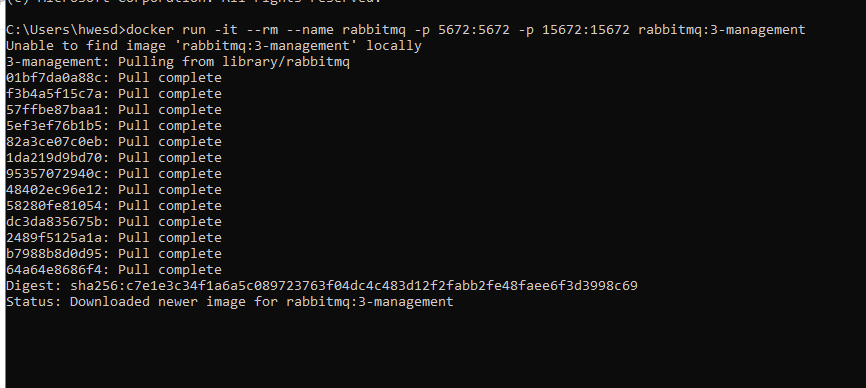
5-1. RabbitMQ 설치
아래 사이트에서 설치할 수 있으며 본인은 docker를 이용하여 설치하겠습니다.
docker run -it --rm --name rabbitmq -p 5672:5672 -p 15672:15672 rabbitmq:3-managementhttps://www.rabbitmq.com/download.html
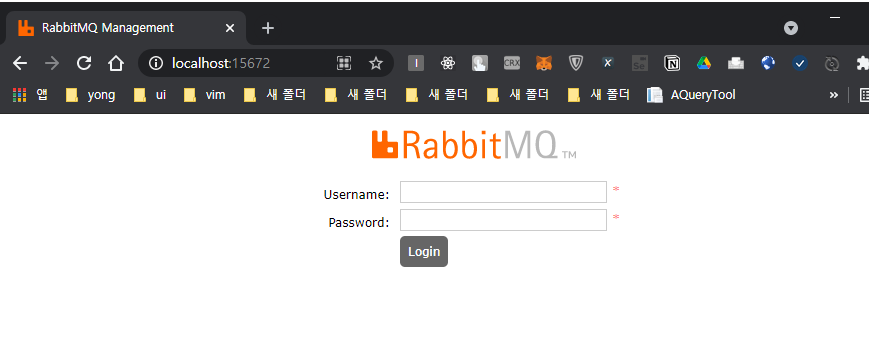
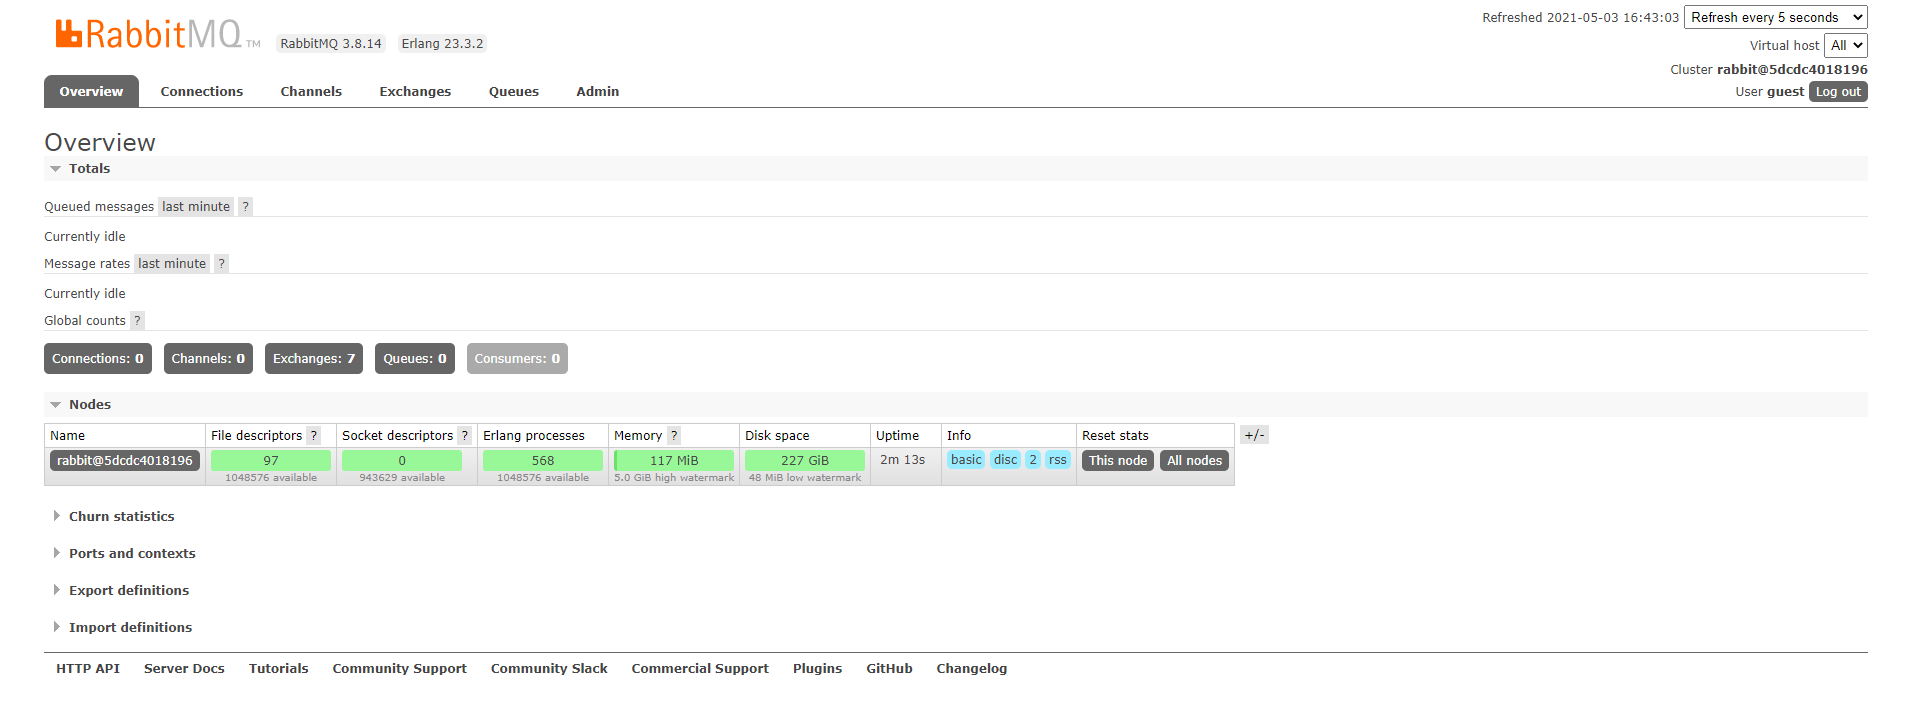
http://localhost:15672/ 로 접속하면 아래와 같은 화면이 나옵니다.
기본 계정은 default ID/PW = guest/guest 입니다.
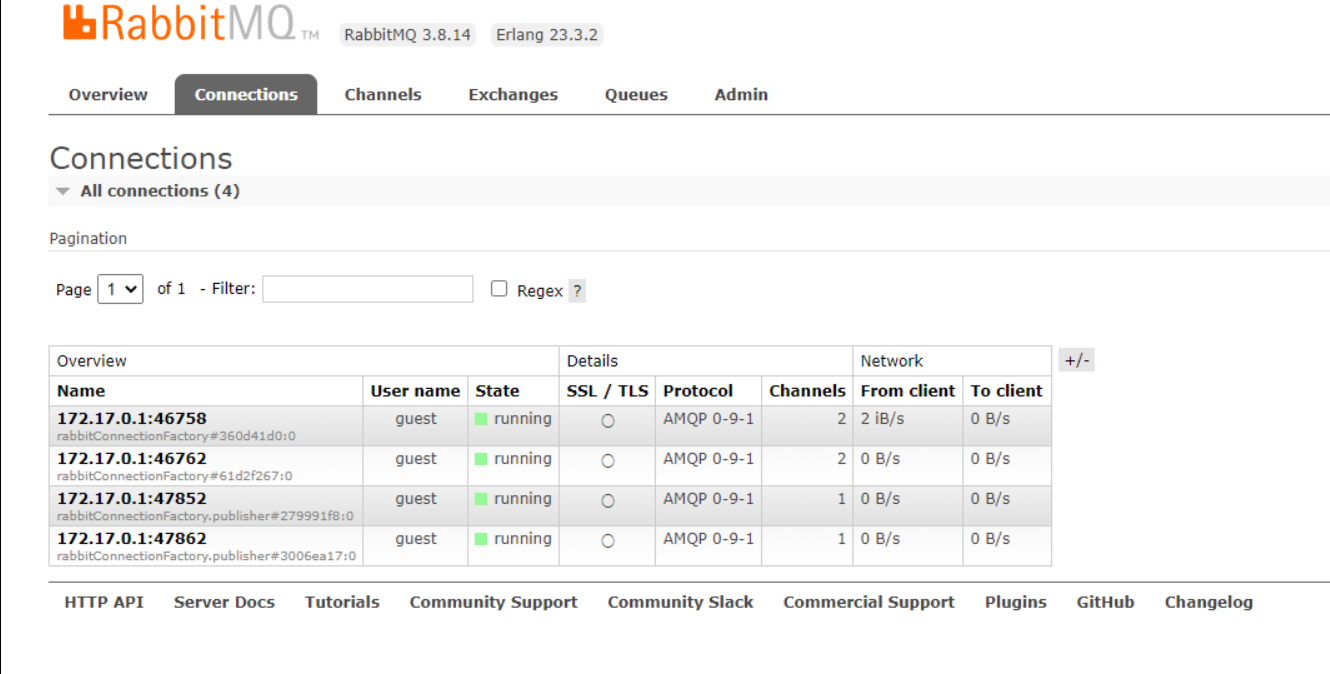
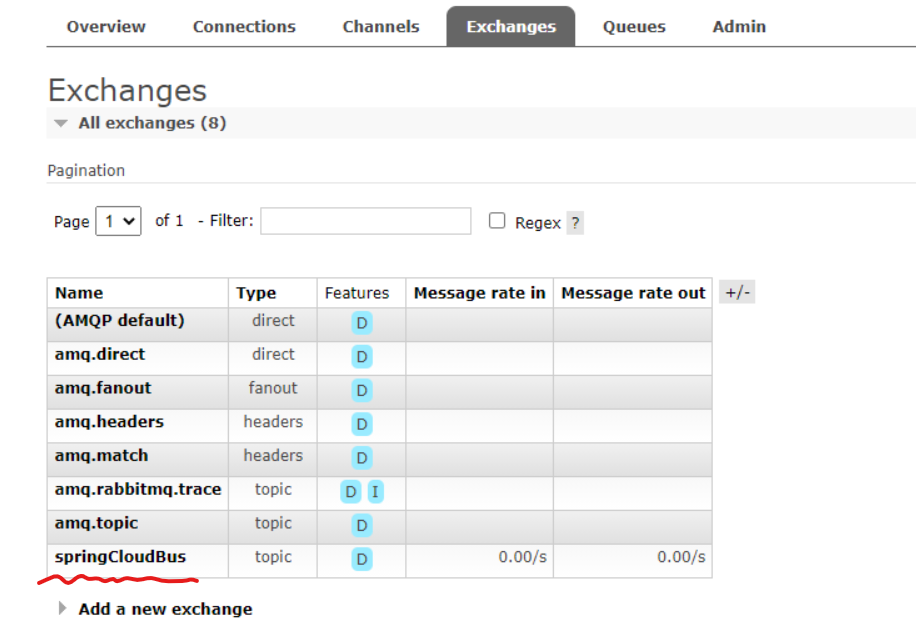
간단하게 확인하면 Connections에서 접속 된 Config Client를 확인할 수 있고
Excjamges에서 springCloudBus가 연결된걸 확인할 수 있습니다.
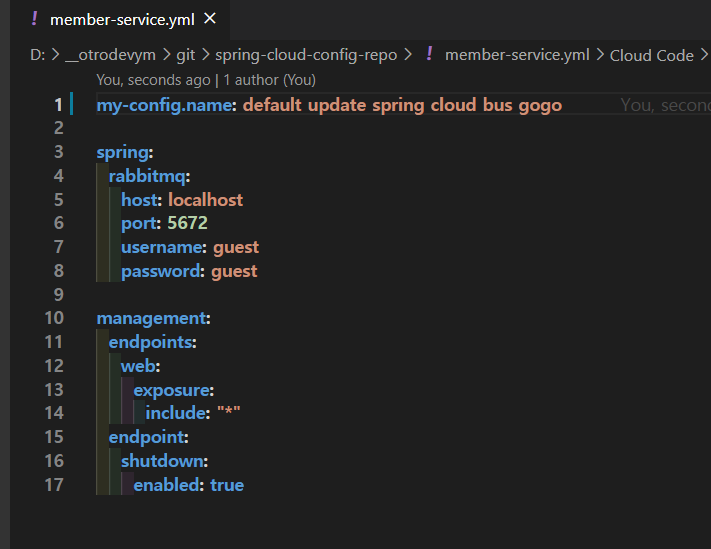
5-2. Config Client 의존성 추가 및 member-service.yml 설정
의존성 추가
implementation 'org.springframework.cloud:spring-cloud-starter-bus-amqp'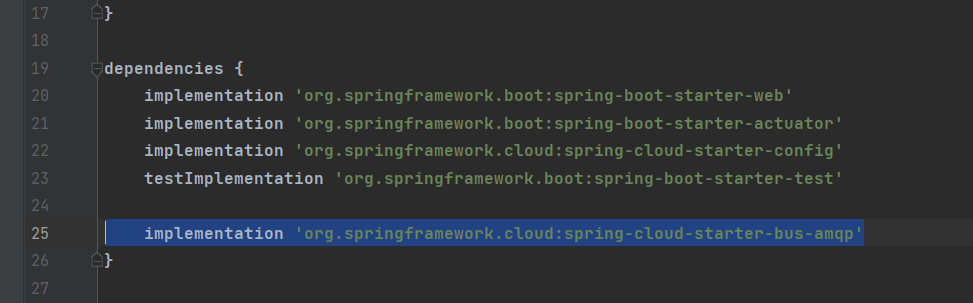
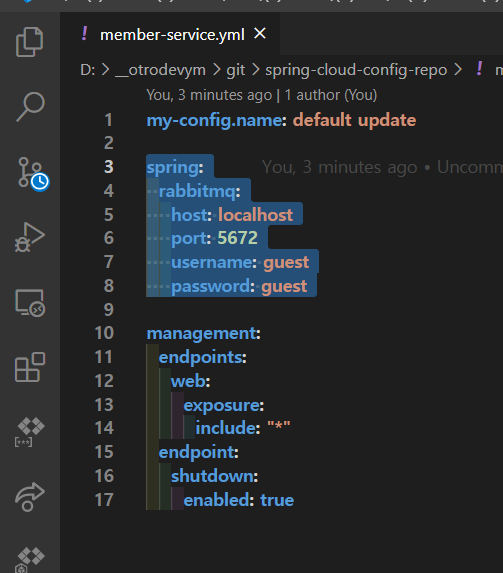
member-service.xml 설정
spring:
  rabbitmq:
    host: localhost
    port: 5672
    username: guest
    password: guest
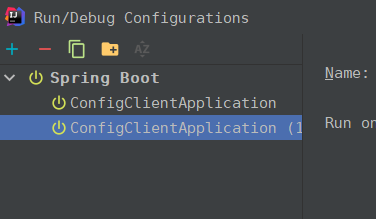
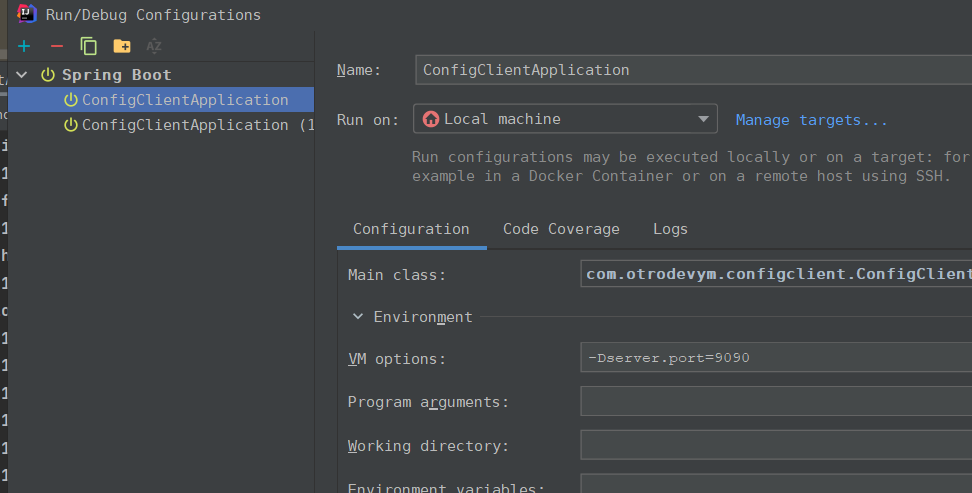
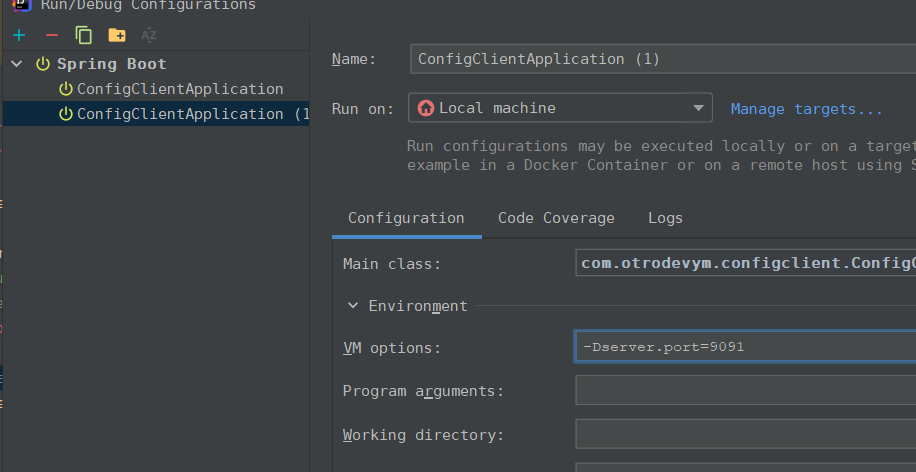
5-3. Config Client 인스턴스 1개 늘리기
인텔리제이에서 복사를 누르고 실행 포트가 다른 인스턴스를 2개 실행시켜줍니다.
5-4. member-service.yml 환경 설정 변경
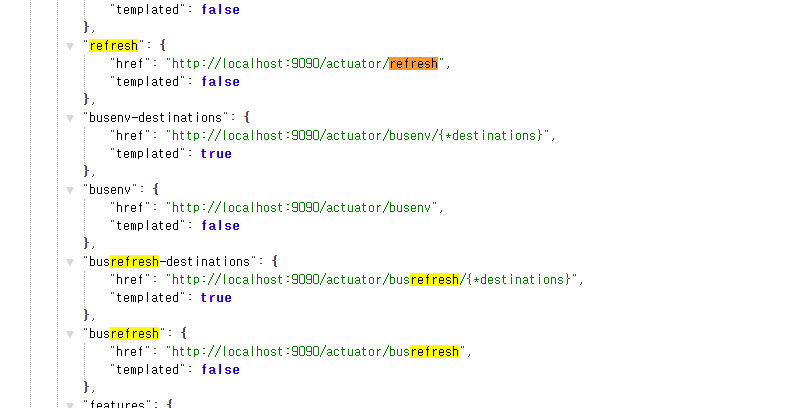
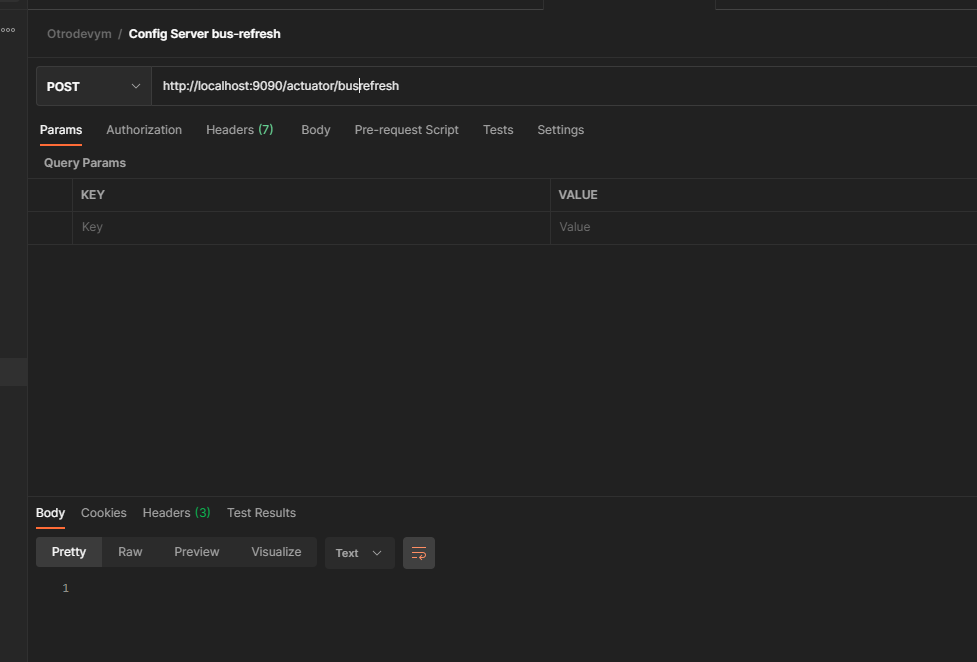
5-5. POST /actuator/busrefresh 실행
actuator에서 refresh를 검색하면 busrefresh를 찾을수 있습니다.
Postman에서 POST로 /actuator/busrefresh를 실행합니다.
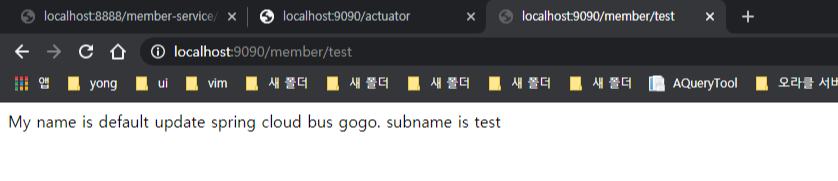
5-6. Config Client 9090, 9091에서 확인
한번의 종단 실행으로 클라이언트에 적용된 결과를 확인할 수 있습니다.

'개발(합니다) > Java&Spring' 카테고리의 다른 글
| [spring boot 설정하기-16] spring cloud config(3) git 연동 설정 및 테스트 소스 (0) | 2021.05.08 |
|---|---|
| [spring boot 설정하기-15] spring cloud config(2) 암호화 설정 및 테스트 소스 (0) | 2021.05.07 |
| [spring boot 설정하기-13] spring cloud feign 설정 및 테스트 소스 (0) | 2021.05.02 |
| [spring boot 설정하기-12] admin(+security) 설정 및 테스트 소스 (0) | 2021.05.01 |
| [spring boot 설정하기-11] actuator 설정 및 테스트 소스 (0) | 2021.04.30 |


