actoator를 웹에서 확인할 수 있는 기능으로 제공되는 기능으로 SBA(spring boot admin)을 제공합니다.
문자가 아닌 그림으로 확인할 수 있습니다.
관련 정보는 아래 사이트에서 확인할 수 있습니다.
codecentric.github.io/spring-boot-admin/current/#getting-started
www.baeldung.com/spring-boot-admin
시큐리티가 적용되어 있는 상태에서 하면 조금 복잡한 감이 있어서 새로운 프로젝트를 생성하여 진행합니다.
1. Server
1-1. 의존성 주입
server-ui는 없어도 기본적으로 server에서 ui를 제공해줍니다.
    implementation 'org.springframework.boot:spring-boot-starter-web'
    implementation 'de.codecentric:spring-boot-admin-starter-server:2.4.1'
//    implementation 'de.codecentric:spring-boot-admin-server-ui:2.4.1'
    implementation 'org.springframework.boot:spring-boot-starter-security'

1-2. application.yml 설정
server에서 사용할 name, password를 설정합니다.
이 부분은 시큐리티를 이용합니다.
server:
  port: 8080

spring:
  security:
    user:
      name: admin
      password: admin

1-3. BootAdminServerApplication.java
@EnableAdminServer을 추가합니다.
package com.otrodevym.bootadminserver;

import de.codecentric.boot.admin.server.config.EnableAdminServer;
import org.springframework.boot.SpringApplication;
import org.springframework.boot.autoconfigure.SpringBootApplication;
import org.springframework.scheduling.annotation.EnableScheduling;

@SpringBootApplication
@EnableAdminServer
public class BootAdminServerApplication {

    public static void main(String[] args) {
        SpringApplication.run(BootAdminServerApplication.class, args);
    }

}

1-4. SecurityConfig.java
AdminServerProperties를 의존 주입해주고 시큐리티를 적용합니다.
.antMatchers(HttpMethod.GET, "/actuator/**").permitAll() 모든 actuator를 허용합니다.
package com.otrodevym.bootadminserver;

import de.codecentric.boot.admin.server.config.AdminServerProperties;
import org.springframework.context.annotation.Configuration;
import org.springframework.http.HttpMethod;
import org.springframework.security.config.annotation.web.builders.HttpSecurity;
import org.springframework.security.config.annotation.web.configuration.WebSecurityConfigurerAdapter;
import org.springframework.security.web.authentication.SavedRequestAwareAuthenticationSuccessHandler;
import org.springframework.security.web.csrf.CookieCsrfTokenRepository;


@Configuration
public class SecurityConfig extends WebSecurityConfigurerAdapter {


    private final AdminServerProperties adminServerProperties;

    public SecurityConfig(AdminServerProperties adminServerProperties) {
        this.adminServerProperties = adminServerProperties;
    }


    @Override
    protected void configure(HttpSecurity http) throws Exception {
        String contextPath = this.adminServerProperties.getContextPath();

        SavedRequestAwareAuthenticationSuccessHandler successHandler =
                new SavedRequestAwareAuthenticationSuccessHandler();
        successHandler.setTargetUrlParameter("redirectTo");
        successHandler.setDefaultTargetUrl("/");


        http.authorizeRequests()
                .antMatchers(contextPath + "/assets/**").permitAll()
                .antMatchers(contextPath + "/login").permitAll()
                .antMatchers(HttpMethod.GET, "/actuator/**").permitAll()
                .anyRequest().authenticated()
                .and()
                .formLogin().loginPage(contextPath + "/login").successHandler(successHandler).and()
                .logout().logoutUrl(contextPath + "/logout").and()
                .httpBasic().and()
                .csrf()
                .csrfTokenRepository(CookieCsrfTokenRepository.withHttpOnlyFalse())
                .ignoringAntMatchers(
                        contextPath + "/instances",
                        contextPath + "/actuator/**"
                );

    }
}
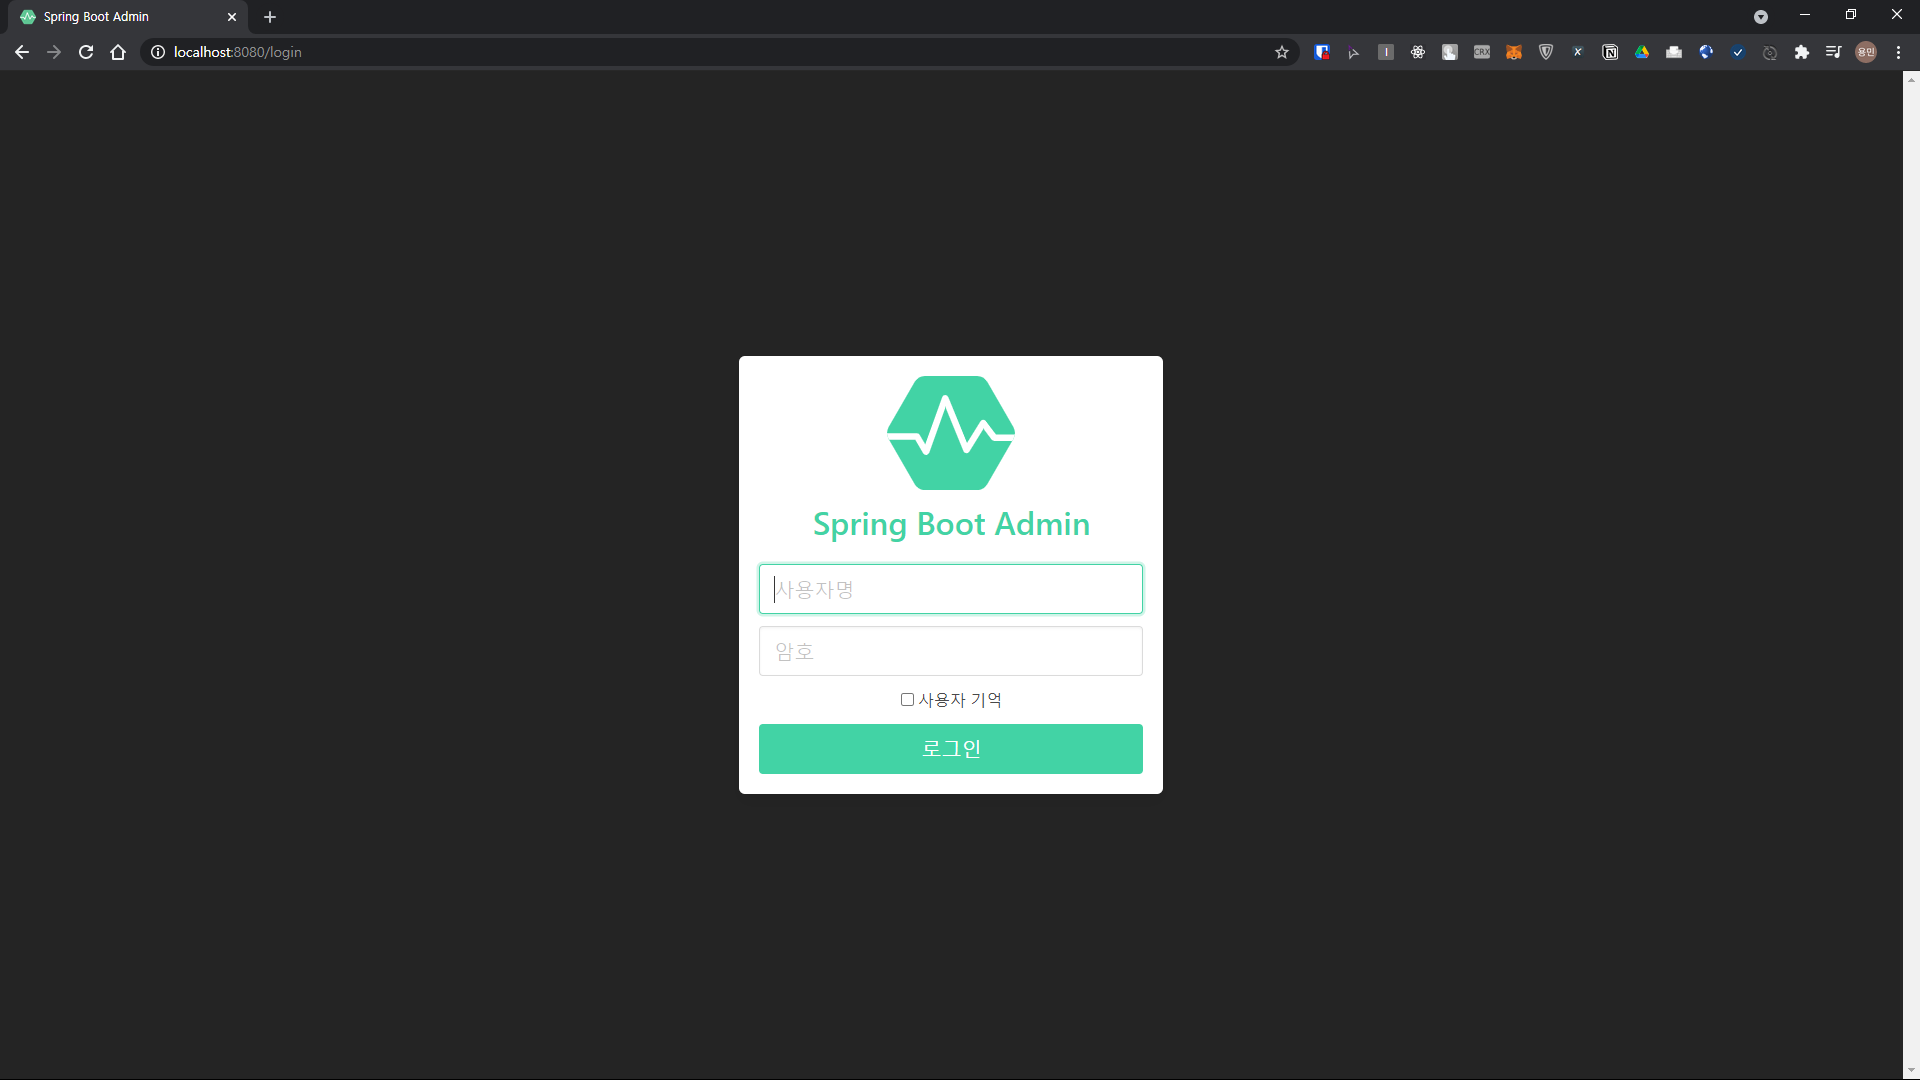
1-5. Spring Boot Admin Server 구동
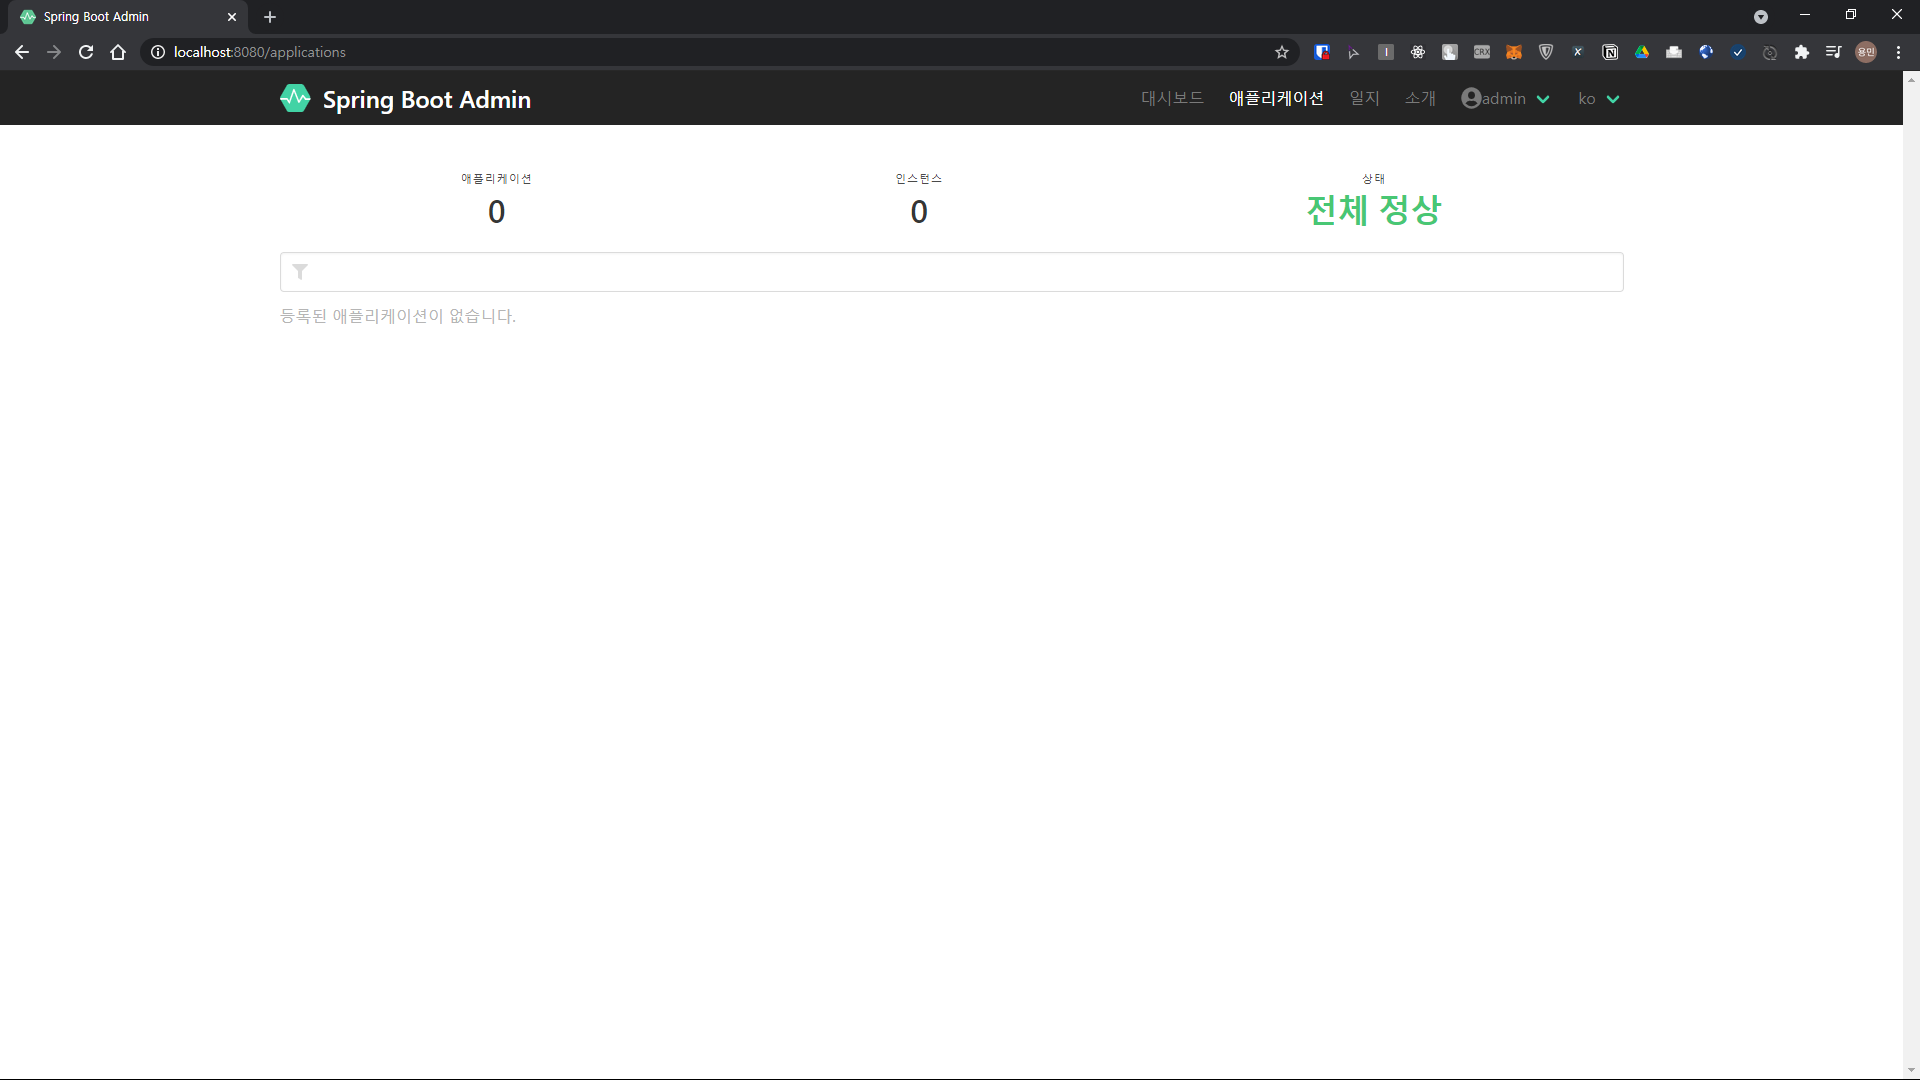
위에 입력했던 admin/admin을 입력하여 접속합니다.
아직 client가 없어서 접속 된 애플리케이션은 없습니다.
2. Client
2-1. 의존성 주입
    implementation 'org.springframework.boot:spring-boot-starter-web'
    implementation 'org.springframework.boot:spring-boot-starter-actuator'
    implementation 'de.codecentric:spring-boot-admin-starter-client:2.4.1'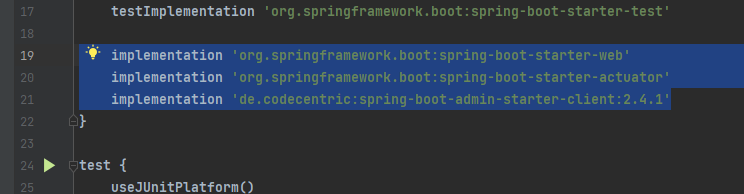
2-2. application.yml
server:
  port: 8081
spring:
  boot:
    admin:
      url: http://localhost:8080 # server  url
      client:
        url: http://localhost:8080 # server url
        username: admin
        password: admin
        instance:
          metadata:
            user.name: admin
            user.password: admin
          service-url: http://localhost:8081 # client url
management:
  endpoints:
    web:
      exposure:
        include: "*"
  endpoint:
    health:
      show-details: always

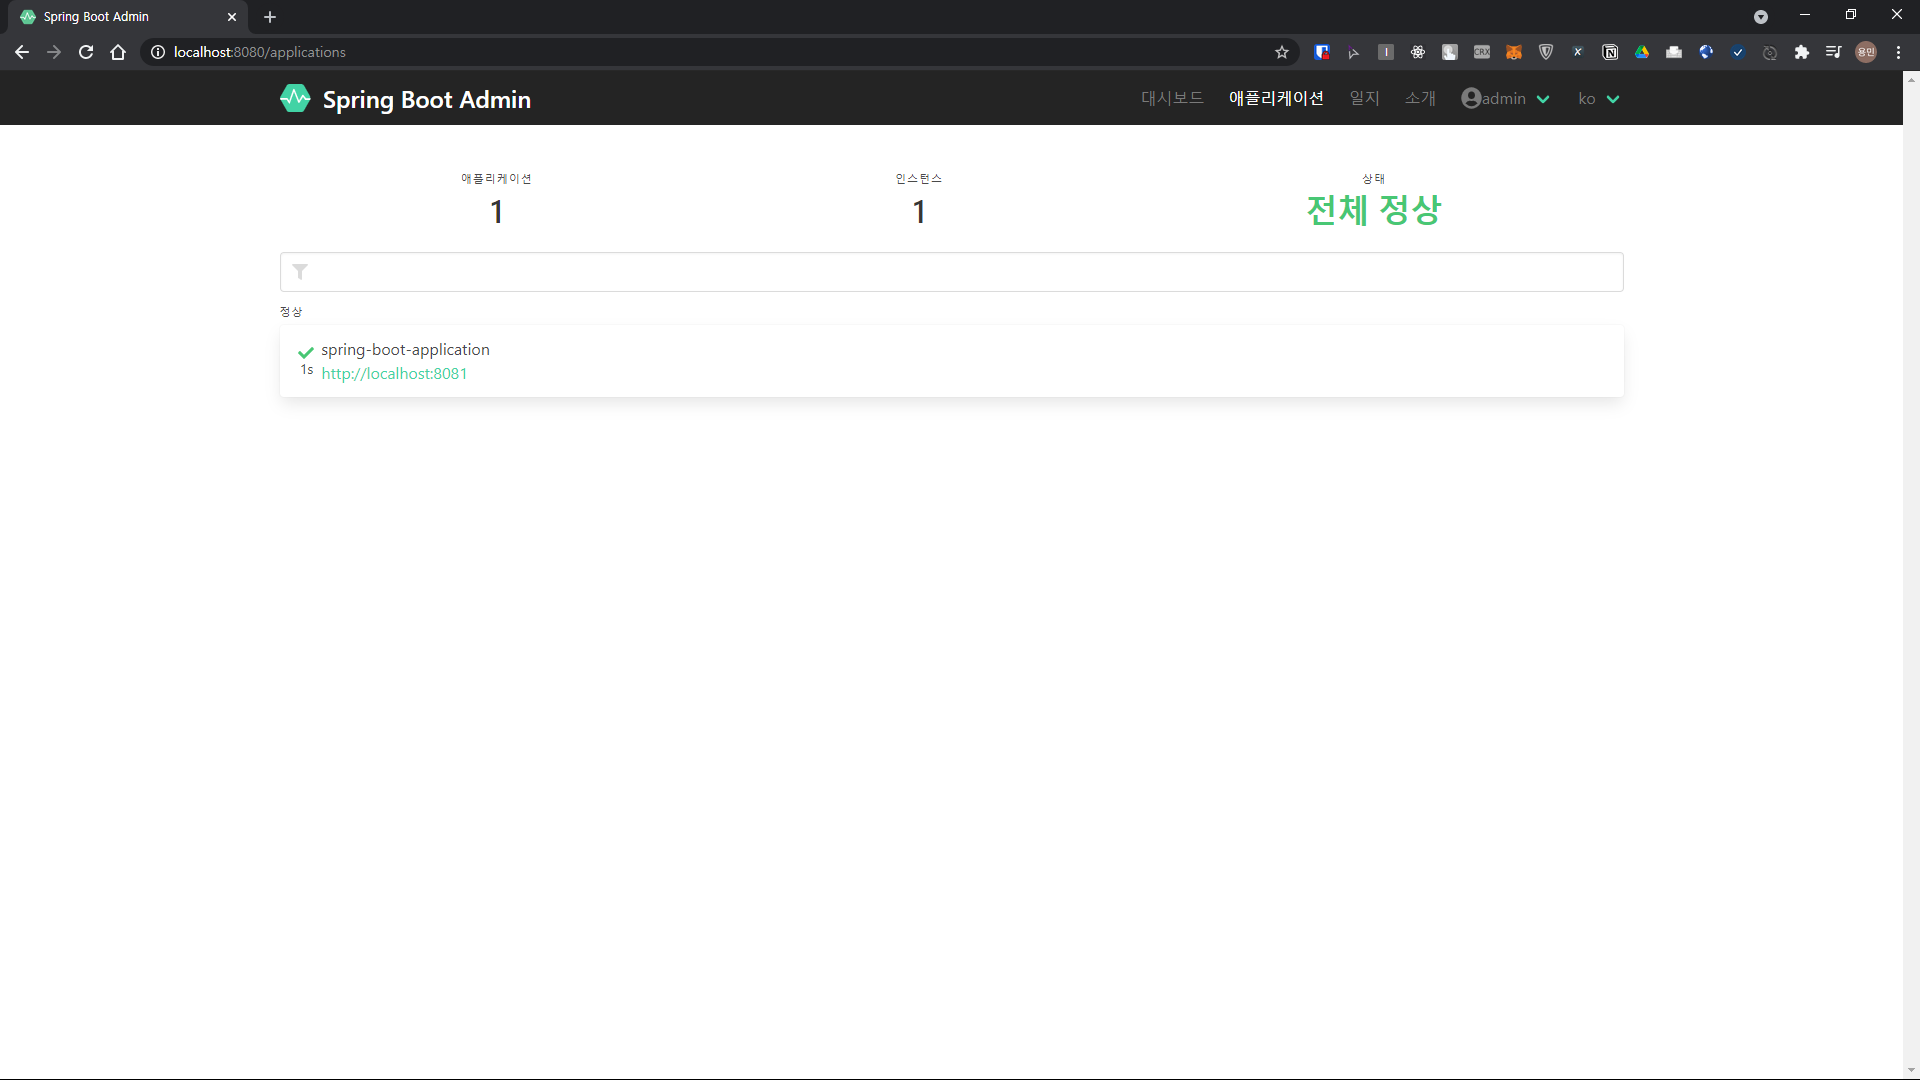
2-3. Spring Boot Admin Client 구동
client가 구동되어 server에서 목록이 표시되는걸 확인할 수 있습니다.
애플리케이션과 대시보드입니다.
대시보드에서 원하는 인스턴스를 선택하면 관련 재원을 다 볼 수 있습니다.
간혹 재원이 보이지 않는 경우에는 server에서의 actuator의 경로나 client에서의 환경 설정의 문제입니다.
client에서 server URL과 인스턴스 client URL이 맞아야 하며 아래처럼 모든 정보를 표시해야 합니다.
management:
  endpoints:
    web:
      exposure:
        include: "*"


'개발(합니다) > Java&Spring' 카테고리의 다른 글
| [spring boot 설정하기-14] spring cloud config(1) 설정 및 테스트 소스 (1) | 2021.05.06 |
|---|---|
| [spring boot 설정하기-13] spring cloud feign 설정 및 테스트 소스 (0) | 2021.05.02 |
| [spring boot 설정하기-11] actuator 설정 및 테스트 소스 (0) | 2021.04.30 |
| [spring boot 설정하기-10] dev-tools 설정 및 테스트 소스 (0) | 2021.04.28 |
| [spring boot 설정하기-9] oauth2 설정 및 테스트 소스 (1) | 2021.04.23 |


